

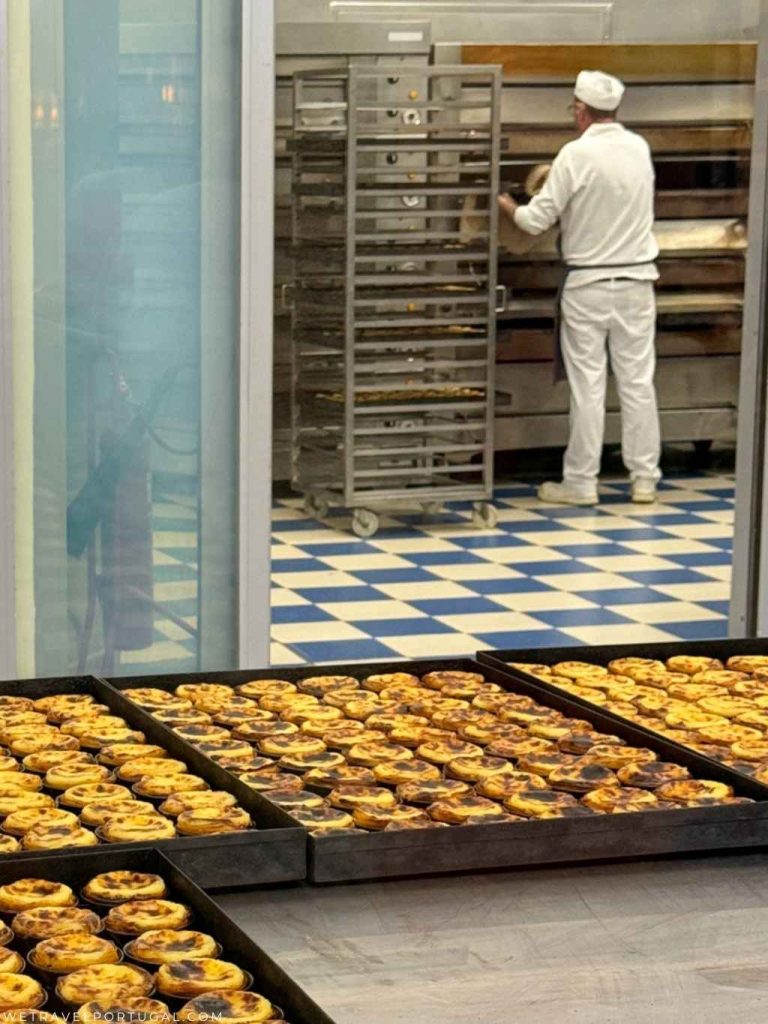
Pastel de Nata is a Portuguese custard tart made with puff pastry and an eggy custard infused with vanilla, cinnamon, and citrus peel. They are loved by both locals and tourists, and are everywhere in Portugal. These little tarts have a special place in our hearts, perhaps because they were the first traditional food we tried in Portugal, or perhaps they’re simply delicious and we’ve eaten so many of them. They are amazing warm with a cup of coffee, or even with a glass of Port as a dessert.
What’s a Pastel de Nata?
Pastel de Nata is one of the classic and perhaps the most popular Portuguese pastries available. What’s a pastel de nata? You can describe it as Portuguese custard tart, or more formally as a ”Doce Conventual”. Which literally means a sweet that originated from a convent. The list of Doces Conventuals is very long and every region of Portugal has added its own entry to the list. What do the great majority of them have in common? They are made from substantial quantities of egg yolks and sugar.
Conventual Sweets in Portugal
It was in the 15th century after the colonization of Madeira Island that refined sugar began to be popular in Portugal. During the same period, it was common practice at the convents to use egg whites for starching religious clothing. This left large amounts egg yolks left over, not being wasteful these were often made into sweets and pastries. Although the traditional Doces Conventuais were made all over the country. It was in one particular monastery in Lisbon where the Pastéis de Nata were created. That’s the Hieronymites Monastery or locally known as Mosteiro dos Jerónimos.

The Story of Pastéis de Nata
The Liberal Revolution of 1820 resulted in the extinction of religious orders, and caused the imminent closure of many convents and monasteries. The monks of Jerónimos Monastery began selling their natas at a nearby sugar refinery in order to help ease their financial hardship. Despite their efforts, the monastery still ended up closing in 1834. The recipe of their specialty would then be sold to the owners of the sugar refinery where they previously sold their natas. In 1837, the refinery owners started their own production and sale of the pastries themselves.
Pasteis de Nata and Pastéis de Belém
These days both the secret ‘original recipe’ and the pastry shop (Pastéis de Belém) are still owned by the descendants of that refinery. That’s why you will come across two different names for the same (or not quite) pastry; Pastel de Nata and Pastel de Belém. The first, refers to the generic version which can be produced and sold by anyone. The second one refers exclusively to the ones made by Pastéis de Belém. In 2011, following the result of a public vote. Pastel de Belém was declared one of Portugal’s Seven Wonders of Gastronomy. Cementing itself as one of the countries national dishes both in Portugal, and abroad.

Authentic Pastel de Nata Recipe
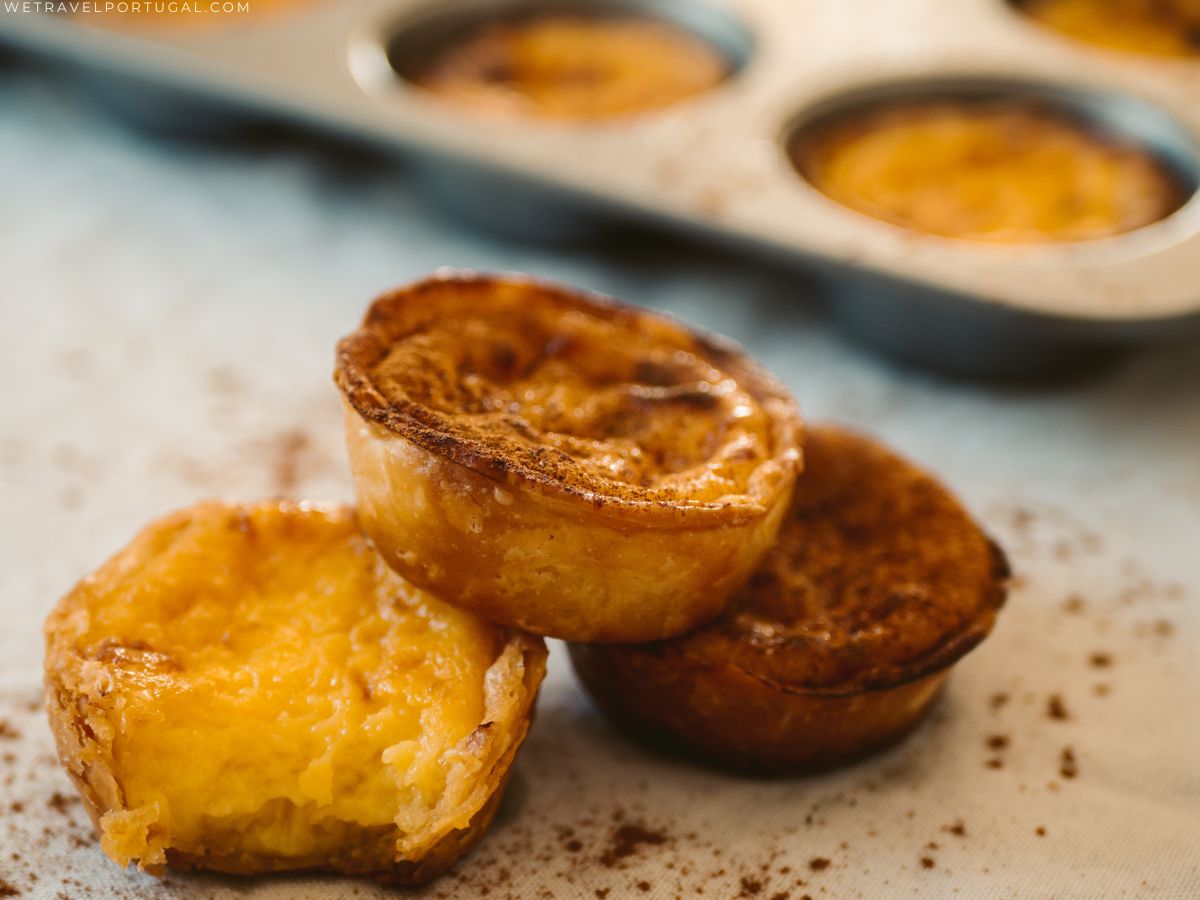
As we have no intention of keeping our own recipe to ourselves, here it is, our favourite Pastel de Nata Recipe! We decided to make it from scratch, puff pastry included. We know that might sound complex, but we assure you it really isn’t. With our recipe you can make your own pastéis de nata, afterall there’s nothing better than a freshly baked pastel de nata that’s still warm! Continue to read to learn how to make authentic pastéis de nata.
How to Make Pastéis de Nata from Scratch
Pastel de Nata: Homemade Portuguese Custard Tart Recipe
24
servings1
hour10
minutes15
minutes250
kcalPastel de Nata is a Portuguese custard tart made with puff pastry and an eggy custard infused with vanilla, cinnamon, and citrus peel.
Ingredients
- Puff Pastry Ingredients
250 g All-purpose flour + more for the surface
200 g Unsalted butter – room temperature
175 ml water
Pinch of salt
- Custard Ingredients
6 Large egg yolks
300 ml Full fat milk
220 g Caster sugar
30 g All purpose flour
160 ml Water
1 Cinnamon stick
1/4 tsp Vanilla extract
1/2 Lemon – the peel
Directions
- Pastry Directions
- Using your fingers, quickly mix the flour, water and salt in a bowl, until it starts pulling away from the sides of the bowl. You can also use a mixer with a dough hook attached to it. This initial dough should be very similar to a sticky wet bread dough.
- Using a dough scraper or spatula, transfer the dough to a clean floured surface. Sprinkle some flour on top, then wrap it in cling film. Let it rest for 15 minutes on the counter.
- Add more flour to the surface, make sure you have plenty of workspace. Dust a rolling pin with some flour, then roll the dough into a 45 cm square. Brush any flour excess off the dough. Spread 1/3 of the butter on top of 2/3 of the dough surface. Leave a little border so when you laminate the butter won’t be squeezed out.

- Carefully fold the unbuttered third of dough over the middle third. Use a dough scrapper to loosen it if it sticks, again brush off any excessive flour from the dough. Fold the remaining third on top of the rest of the dough.
- Rotate the dough 90 degrees to the left so the last fold is facing you. Repeat the rolling process to an approximate 45cm square. Once again, spread another 1/3 of the butter on top of 2/3 of the dough even. Repeat the folding process as above.

- For the final layer, turn the dough 90 degrees to the left and this time roll out the dough to a 50x45cm rectangle. With the shorter side facing you, spread the remaining butter over the entire surface of the dough this time.
- Using our dough scrapper, lift the edge of the dough and while scraping and brushing the excessive flour, roll the dough very tightly. The result should be a tightly rolled pastry log. Trim the ends and wrap it in cling film and chill it for at least 3 hours or ideally, overnight.

- Custard Directions
- Whisk together in a large bowl the flour and 50ml of milk until smooth.
- In a small pan, combine the caster sugar, cinnamon stick and the water. Bring it to a boil and cook until it reaches 100C degrees. If you don’t have a thermometer, dip a spoon into your syrup and lift it, a large drop is supposed to form and as if falls it should leave a short thin string behind. Do not stir the syrup, we don´t want any crystallization.
- Meanwhile, in another pan, bring the remaining milk to a boil. Once boiled, remove it from the heat, add the vanilla and lemon zests and cover it with a lid to infuse for a minute or two. Pour it into the flour and milk mixture.

- In a thin stream, pour the sugar syrup into our infused milk mixture. Remove the cinnamon stick and stir it until it cools slightly. Add in the egg yolks and whisk, strain the mixture into a jug, cover it and set it aside.

- Assembling the Pastéis
- Pre heat your oven to 290°C if you can, if not, set to the hottest temperature that your oven reaches.
- Take the pastry log from the fridge, and with a sharp knife cut it in half. Divide each half into 12 even slices.

- Place each slice cut side down in each well of a non-stick 12 muffin tin or individual tins. Let the dough pieces rest for 5 minutes. Here is where you’ll be able to see those buttery layers that we made previously.

- Place a small cup of water on the side to dip your thumbs in. With wet thumbs, start shaping the dough spirals. Press it against the bottom of the tin and then smooth the dough up to the sides, creating a raised lip above the pan. The bottom should not be too thin.

- Fill each cup ¾ full with the custard. Bake the pastéis until the edges are golden brown, around 10-15 minutes. If your oven has a grill mode, turn it on for the final minutes to achieve the distinctive burnt effect of the pasteis de nata.

- Remove them from the oven and let them cool for a few minutes before serving. Our favourite way of eating them is while they’re still warm and with a sprinkle of cinnamon on top.
Notes
- You can freeze the cooked pastéis de nata for up to 2 months, and reheat them in the oven or airfryer.
- If using store bough puff pastry, start from step 7.
- The homemade puff pastry should rest for a minimum of 3 hours. Plan in advance.
Some of these steps are a little complicated, so feel free to ask us some questions in the comments below! We hope you’ve enjoyed making and eating them as much as we do!
Just made these and they’re wonderful! One of my fave desserts. Can’t wait to have another with a coffee in the morning. Thank you for sharing this great recipe!!
That’s so good to hear, they’re irresistible with a good coffee!
Glad you liked our recipe!
Annie
Any way I could use commercial puff pastry instead of making it?
Hi Deborah, yes that would be possible! You can start from the point where you start rolling the pastry into a log before slicing it!
Is the 290° preheat oven for a fan oven?
Yes! You need it hot to get that characteristic burnt custard top!
Would the temperature be the same for an oven without a fan?
Yep, 290°C if possible!
Is that 290 centigrade?
Yes, if possible!
can I prepare the dough and the filling and leave it in the fridge to cook the next day?
Absolutely! If you don’t have time to do everything in one sitting, it’s a great moment to pause and continue the following day!
Can I substitute milk with half and half?
We recommend sticking with whole milk, half and half has a much higher fat content and will make a very different custard. You can definitely try and let us know the results though!
What rack in oven should we use?
Middle rack should be fine, you don’t want to risk placing them too high or you may burn the pastry!
Hello,
Before filling custard, does it need to be thickened a little so it does not sagg the dough?
Hi! The custard will thicken in the oven, no need to worry about the dough.
can I make the custard the night before and use it the next morning?
Yes, the custard should keep well in the fridge and can be used the following day!